
Bed bugs are a major problem in the USA with recent statistics showing that 1 in 5 households have them. These vampiric critters are subtle and often hide in tiny cracks and crevices all around your home. Any opening in your home no matter how small is a potential hiding spot for bed bugs.
Any individual’s home is their castle and every good castle needs fortification. To fortify your home against bed bugs you need to seal all the cracks and crevices that offer potential hiding spots. This post takes you through everything you need to know about sealing cracks and crevices to fight bed bugs.
Table of Contents
When Sealing Cracks and Crevices Helps To Fight Bed Bugs
Most individuals consider sealing cracks and crevices as an ineffective and time-consuming way to fight bed bugs. Yes, sealing cracks and crevices is time consuming, but it will save you money in the long run. Sealing up all cracks and crevices in your home gets rid of potential refuge spots for bed bugs. That said, there are several other scenarios where sealing cracks and crevices is helpful in your fight against bed bugs.
A considerable number of homes in the USA have cracks on baseboards and ground molding. Even though it is an unlikely scenario, bed bugs can use such openings to crawl into your home. If you live in a congested neighborhood or an apartment complex, sealing cracks and crevices helps in your fight against bed bugs.
You must also remember that fighting bed bugs involves preventing the spread of bed bugs. Nobody wants to be the inconsiderate neighbor who is responsible for others getting bed bugs. Sealing openings ensures that bed bugs don’t crawl into your yard and hitchhike to your neighbors’ homes if you have them.
POINT TO NOTE: Sealing cracks and crevices in your home is helpful against bed bugs but, you have to seal every one of them.
Searching and Identifying Cracks and Crevices in your Home
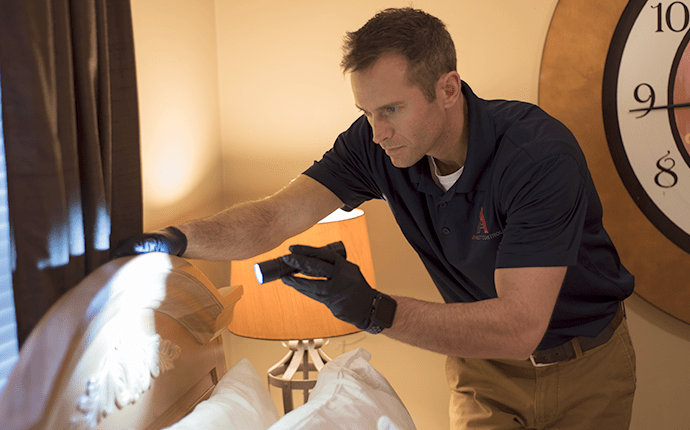
Cracks and crevices can be located anywhere from your house’s foundation to the injection where the roof meets the wall. Identifying such spots can be challenging but, with some knowledge and tenacity, you can identify them. Here are some tips on how to search and identify cracks and crevices in your home include:
- Start your search from the bed and move outwards from there. Bed bugs can hide in super tiny spots. You need to search for cracks and crevices with a critical eye.
- Check spaces around doors and windows with emphasis on tight corners.
- Inspect spaces where plumping pipes and electrical wires enter your home.
- Inspect all ventilation systems around your house.
- Check your phone line’s point of entry
- Perform a thorough inspection of your porch and look at for cracks. Please note that bed bugs can hide in the tiniest cracks you can imagine.
- Look for cracks and crevices the weep screed but, be vigilant not to treat drainage openings as unnecessary gaps.
- Inspect your basement thoroughly. Look for signs of light shining through tiny openings on walls.

IMPORTANT NOTE: Most people think there home is secure against bed bugs because they have sealed it for the weather. This is an erroneous thought because a few missed spots when weather proofing makes a huge difference when dealing with bed bugs. A wise individual will go a step further to inspect their home even if they’ve sealed it for weather.
Necessary Materials for Sealing and how to handle them
Sealing cracks and crevices to prevent bed bugs is a long and tedious process. Most people shy away from this task because they fear the time and resources needed to do it. If you are one of those people, I can confidently tell you that you are making a big mistake.
Sealing all cracks and crevices in your home is a worthwhile investment towards your comfort and peace of mind. Here are some of the things you need and how to handle them:
Materials for sealing cracks and crevices
Before you get down to the actual sealing process, you need to pick out the right materials for the job. The materials you need include:
- Caulk
- Expanding spray foam
- Caulk gun
- Old Rags
- A pair of Scissors or a razor knife

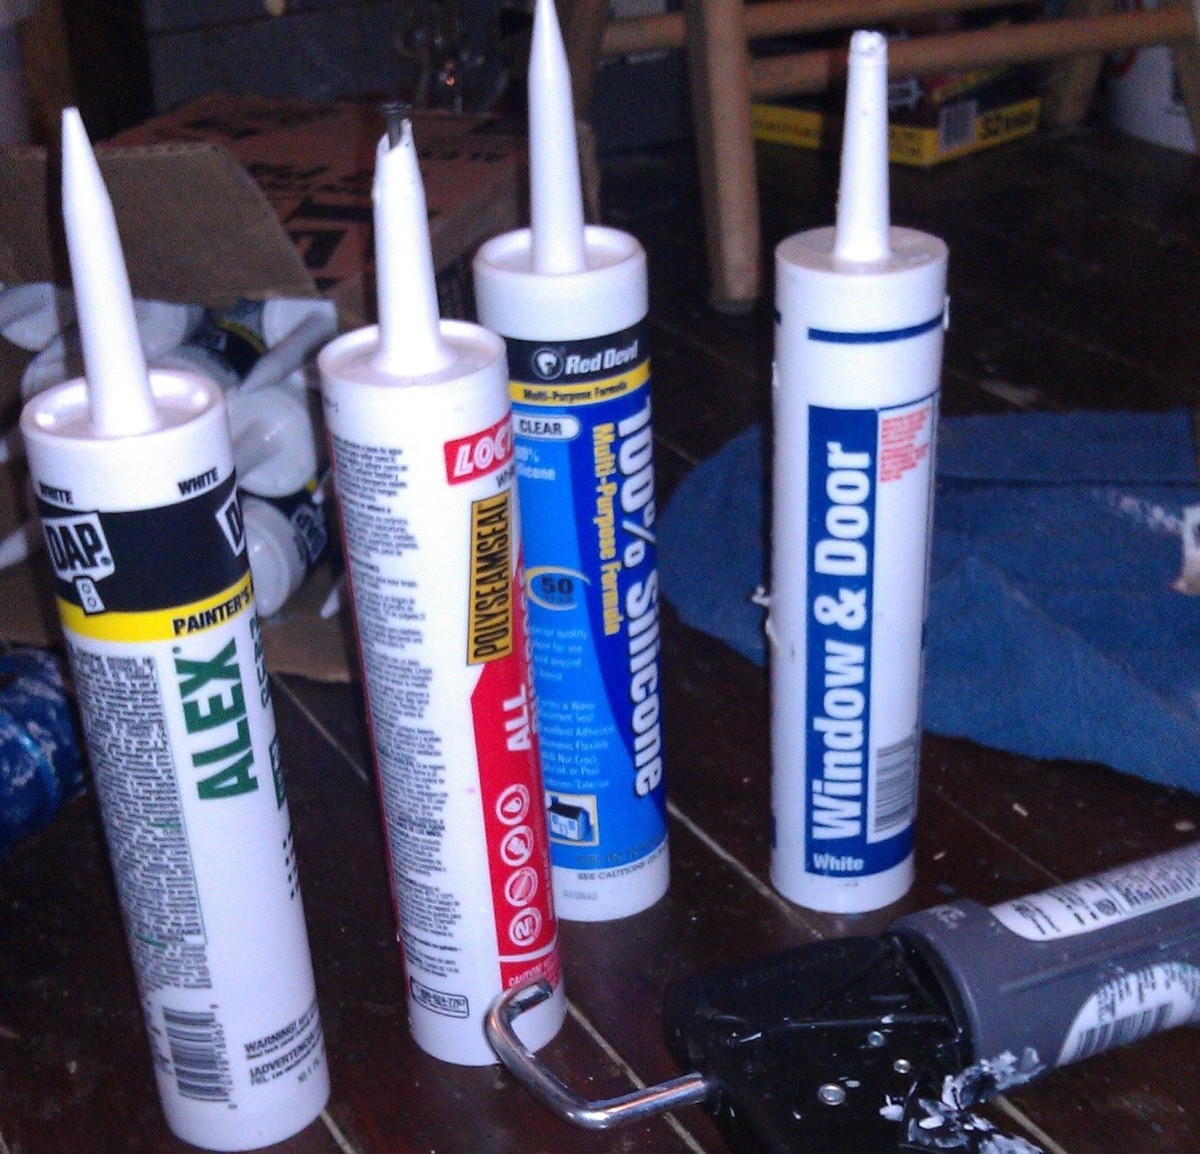
When shopping for sealing material, you need to remember that not all caulk is the same. Danny Lipford, a remodeling expert says some caulk comes out of the tube too hard. When caulk comes out hard, it will not adhere to cracks and crevices completely and pulls away when dry. Silicone or acrylic latex-based caulk are the ideal options owing to their softness, ability to sink into openings and create a firm seal when dry.
Opening Caulk appropriately
Opening caulk is not as easy as you imagine it is. You need to cut the top of the tube at an angle that is often challenging for most people to achieve. To cut open the calk tube, you need a sharp pair of scissors or knife.
You can also go for a caulk gun made of heavy duty plastic and has a poker that opens the caulk. It is important to cut the caulk open at a nice clean angle. Considering that you are dealing with sharp objects, you need to be extremely cautious.
Breaking the Caulk seal
After cutting the tip off the caulk, you need to remove the seal lodged inside the tub. Some caulk guns have pokers that help you remove the seal. If your caulk gun does not have a poker, you can use a nail to remove the caulk seal.
A few dry and wet towels or rags come in handy when opening the caulk seal. You will use them to clean any caulk that may get on your hand while breaking the seal. It is also advisable to wipe whatever you used to break the calk seal.
Loading the caulk gun
Once you’ve cut the tip off and removed the seal, load the caulk into the caulk gun. Yank the bar back and attach the caulk in the gun and adjust it until you feel it click into place. At this moment, squeeze your gun to push the caulk to the tip and start your sealing process.
Using expanding spray foam
Up to this point, we have only dealt with caulk so, you must be wondering why you need expanding spray foam. Well, some crevices and cracks are too large to seal with caulk and that is where you must use expanding spray foam. Upon spraying spray foam into large cracks and crevices through an elongated tube, it expands while drying.
CAUTION: Be cautious when using the aerosol can of your expanding form. Using it near flames is dangerous.
Sealing Cracks and Crevices to Fight Bed Bugs
Sealing cracks and crevices in your home to fight bed bugs is a tedious job. It will help to enlist the services of a family member or a friend. Here are some tips on how to seal cracks and crevices exquisitely:
- Treat your home for bed bugs before sealing cracks and crevices.
- Look at each crack and crevice with a critical eye and make sure not to leave any openings unsealed.
- Seal all the cracks and crevices no matter how tiny you think they are.
- Pay attention to the interjections where different surfaces meet, especially in your bed room.
- Sometimes when dealing with basements, you need to seal cracks from both inside and outside.
- Make sure all surfaces are dry before applying caulk.

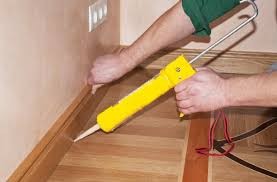
Point to Note: Once you locate a crack or crevice; position the tip of your caulk gun at an appropriate angle and squeeze to seal.
Final Thoughts
Sealing cracks and crevices in your house is crucial in your fight against bed bugs. That said, preventing bed bugs from invading your home is an uphill task that will require you to do more than home-sealing. Here are some things you should do to succeed in your fight against bed bugs:
- Implement robust bed bug monitoring measures around your home
- Take preventative measures to avoid getting bed bugs in public spaces such as hotels
- Consider using essential oils that repel bed bugs in your home
FAQs
Should you treat bed bugs before sealing cracks and crevices?
Yes, it is wise to steam your home to kill any hidden bed bugs before sealing all cracks and crevices.
Do you have to seal cracks and crevices on baseboards with carpets?
Yes, you should make an effort to seal all cracks and crevices including those under carpets. Be careful while pulling the carpet back to avoid damaging it.